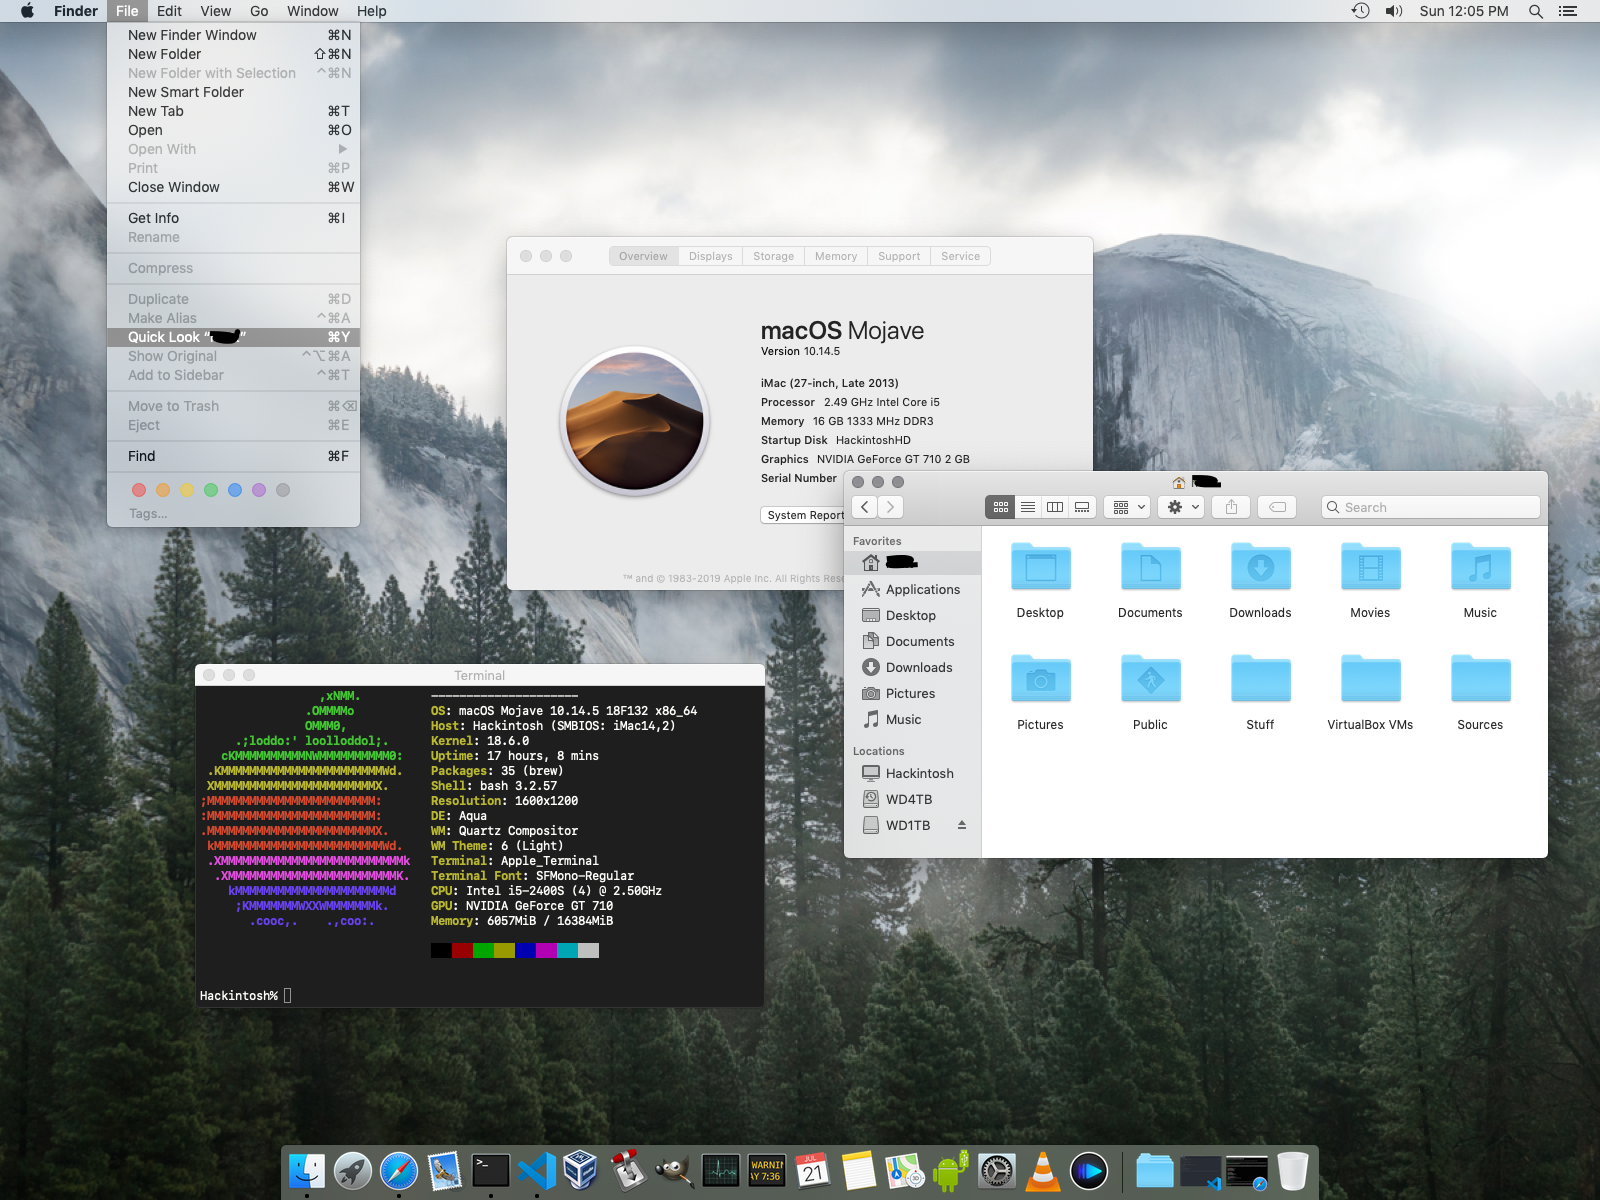
What is a hackintosh anyways?
A hackintosh is a PC running macOS. This is done using a special bootloader (Clover in our case) to load drivers and pass boot options to the kernel.
Why bother with hackintosh?
Well, that's simple. It can save you hundreds or even thousands of dollars. Another reason is that Apple's hardware has become harder to repiar and nearly impossible to upgrade in recent years. Many PCs are easy to repair and upgrade yourself with just a screwdriver and some patience. These are all reasons why you might want to make a hackintosh. After all, Apple's Macs are just standard Intel platforms with a custom EFI to load their own OS.
Alright, I want to hackintosh. What hardware can I use?
You can use most Intel hardware to run macOS as long as it has UEFI. Some hackintosh users have gotten macOS running on AMD machines but this requires kernel patches and other stuff, and won't work with the vanilla install that's detailed below. For my desktop guide I'll be using a Dell Optiplex 790 Small Form Factor PC. They're cheap and plentiful, and if you buy one used with my specs on eBay you should be able to get it for well under $300. For my laptop guide I'll be using a Lenovo ThinkPad X230, which is also cheap and can be had for under $200 if bought used.
Optiplex 790 specs:
ThinkPad X230 specs:
Things you'll need to get started:
These files can be downloaded from tonymacx86
BIOS settings:
Make sure on both machines that they're set to UEFI with no legacy support, serial ports disabled, Security Chip disabled, secure boot disabled, and SATA set to AHCI.
Creating installation media:
Under macOS you'll want to open up Disk Utility and format your USB stick as MBR and HFS+ (Extended Journaled) for the Optiplex, and GPT and HFS+ for the ThinkPad. UniBeast from there does all the hard work for you. For the Optiplex you'll want to choose Clover Legacy, and for the ThinkPad you'll want Clover UEFI. If you're using the Optiplex you can move onto the next step. If you're using the ThinkPad you'll want to use EFI Mounter v3 to mount the EFI partition of your USB stick. Delete all files and copy this EFI folder into it. Then unmount it, unplug, and boot your ThinkPad X230 with it.
Installing macOS:
When you first reach the Clover bootloader you'll want to hover over the "Install macOS" icon using the arrow keys. Press space for boot options. Make sure that the option to disable NVIDIA cards is unticked, and tick the verbose (-v) option so you can see messages from the system as it boots up. This should take you to the installer, where you should select Disk Utility and format your disk as GPT and APFS (SSDs) or HFS+ (HDDs). I name mine HackintoshHD. Then you can close that and choose "Install macOS Mojave". The installer might reboot your machine a couple times. That's okay, just select HackintoshHD and it'll finish the install. Once installed on the X230, you'll want to copy the EFI folder from the EFI partition of the USB stick to the EFI partition of your boot disk. Then, for WiFi, you'll need to install the macOS Sierra driver for your TP-Link USB adapter. After a reboot just plug it in and connect.
Known problems:
The Optiplex will need the USB stick plugged in to be able to boot. Not really a big deal, since they're cheap and it's a desktop. The X230 has no native WiFi support, so you'll need the USB adapter I listed above. Everything else like sound, battery, sleep, etc should be working. The touchpad works flawlessly for me but the trackpoint is a bit jittery, so I avoid using it under macOS.
Last updated: July 21, 2019
